World Machine Tip of the Month : Saturday, June 20th, 2002.
#2: Exporting Erosion information

World Machine Tip of the Month : Saturday, June 20th, 2002.#2: Exporting Erosion information
|
A very much underused ability of World Machine is exporting information other than the terrain. This tutorial demonstrates how to use erosional information to perform better texturing in Terragen, but the same technique will work for any terrain renderer that can use bitmaps as texture masks.
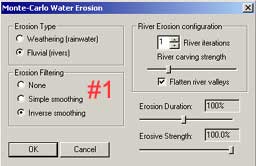
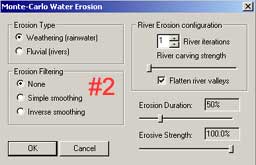
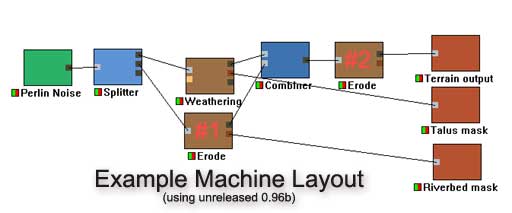
1) Create the machine setupThe first step is to create the basic terrain shapes that you want to work with. This step is completely up to you -- for this tutorial a simple, 1-generator landscape will suffice. As you can see below, the tutorial landscape includes a device not included in the current publicly available version. Because of this, the three results from the file outputs are being included in a zip file here so that you can see what the output looks like.Replacing the thermal weathering device with a standard erosion device set to "Weathering" mode will give a somewhat similar output.
|
||
  |
 |
|

This is the irritating step. The talus and riverbed masks were exported as .TGAs, while the terrain was exported as a .TER for direct use in Terragen. The masks were then re-saved as .BMPs by opening them up in Photoshop and converting the file format. Not being able to output the masks directly to the renderer is very annoying, and is the sole reason for the .BMP format being included for the next version of WM. :)
| NOTE: The current (0.95) version of WM still has a bug in the orientation of maps. The terrain will be flipped vertically when it is exported as anything but Terragen. Thus, to make the masks match the terrain, you must flip them in an image editing tool such as Photoshop or MS Paint. |
Lastly, bear in mind that the masks are just that -- a texture that tells the renderer how much of a surface type to place in a given spot. What that surface type ultimately looks like is entirely to your discretion.
This is the stage that is Terragen-specific. If you are using a different terrain program, you will have to figure out how to use a grayscale bitmap to guide the texture placement of your terrain tool.
To make Terragen use the texture masks, you must have the SOPack terragen plugin installed. Once you have done so, you can use the .BMP files you have created. Create the SOPack overlay by clicking the "Tex" button in advanced distribution, and choose the option "SO Image Overlay (distribution version)".
The terragen surface file used to create the images for this tutorial are included in the tutorial zip package. The two surfaces that should have SOPack overlays added have "SOPack" in the surface name. Below you can see what the surface texture looks like in 3 stages: 1) without any special texturing, 2) with the mask from the fluvial erosion, and 3) with the mask from the thermal erosion.

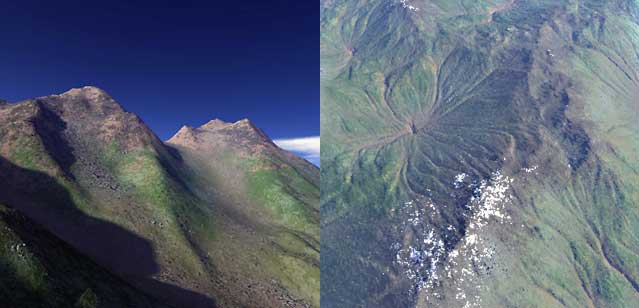
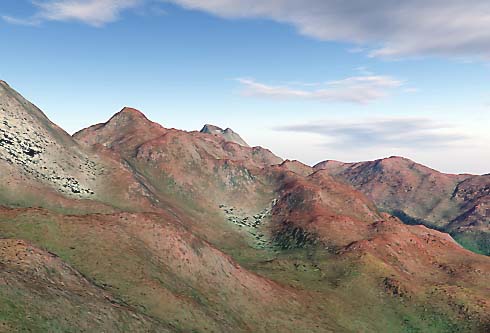
Here's a few more views of the example terrains, showing how the additional surface distribution helps the realism of the terrain.
This only scratches the surface of what can be done with texture distribution. Since any WM device pipeline can be used as a texture mask, it is possible to create very interesting distributions that far exceed what can be done with the simple height&slope restrictions most commonly seen in terrain rendering software.
